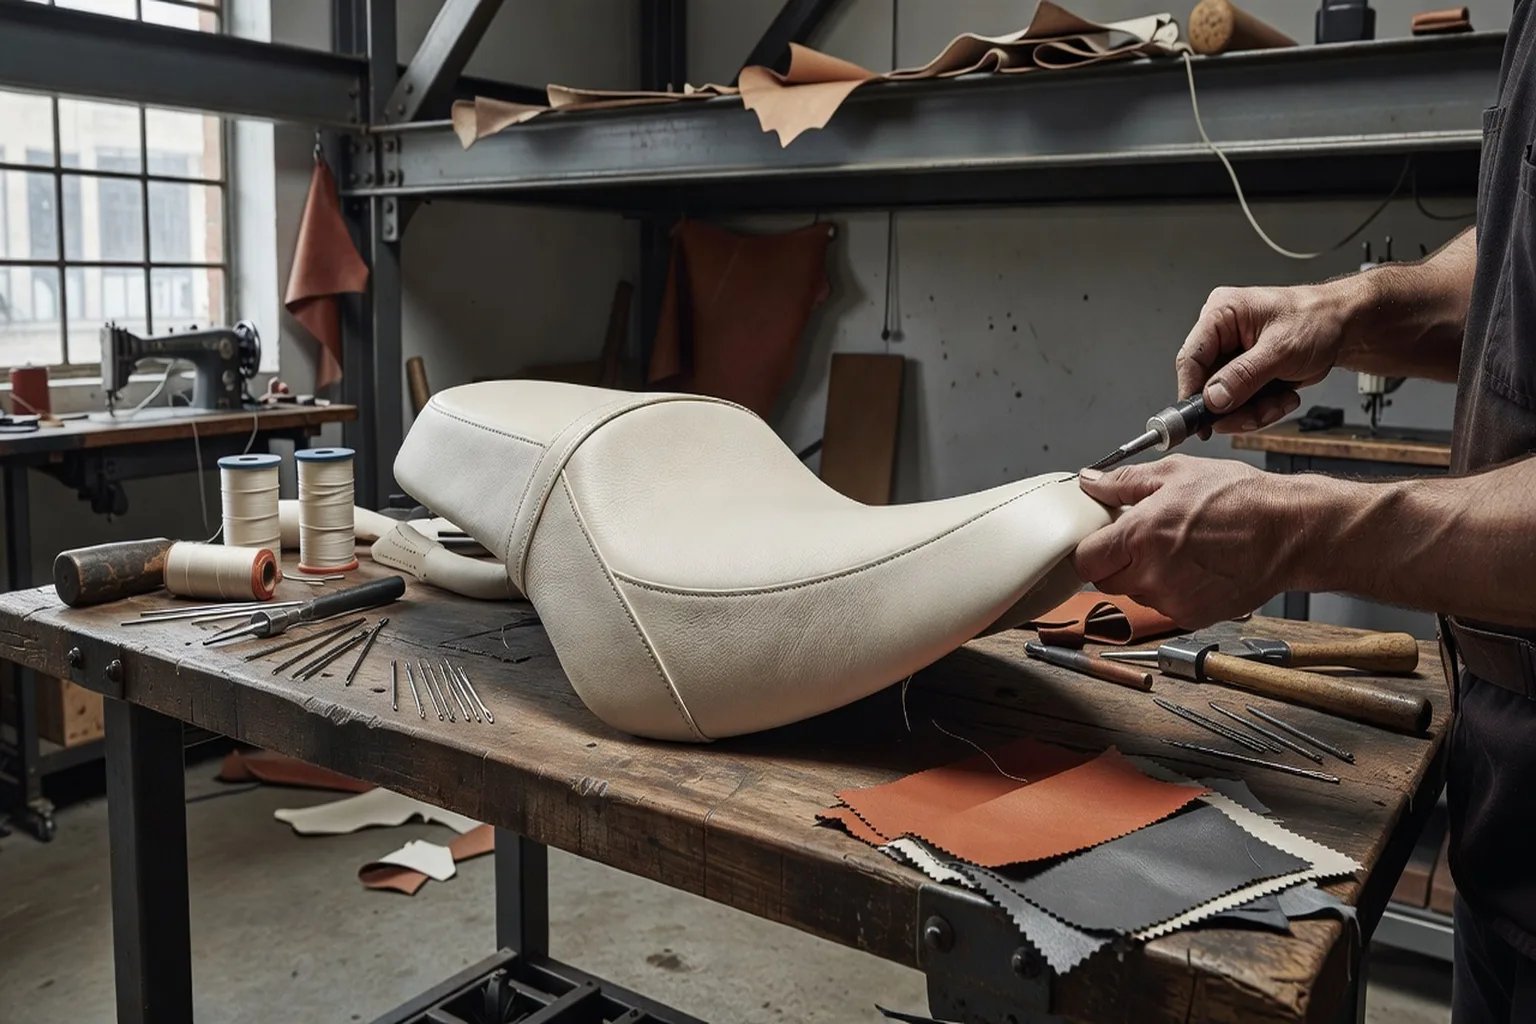
Original Ural seats age predictably — cracked vinyl, collapsed foam, uneven stitching. This documentary guide walks through the upholstery craft as applied to sidecars: materials, the rebuild process, realistic budgets, and how to evaluate a craftsman.
Why Ural Seats Wear Out — and What Replacing Them Involves
Original Ural seating, particularly on older models, is built for durability rather than comfort or weather resistance, and it shows: cracked vinyl at stress folds, foam that’s lost its rebound, stitching that’s given way at the seams. This documentary guide covers the upholstery craft as it applies to Ural seats and sidecar passenger seating — materials, the rebuild process, realistic budgets for DIY versus professional work, and how to evaluate a craftsman. Nothing here is attributed to a named individual; it draws on how the motorcycle upholstery trade generally approaches this work.
Key takeaway: The choice that matters most before anything else is material — vinyl for weather resistance and lower maintenance, leather for feel and appearance at the cost of more frequent conditioning. Decide that first; it shapes every other choice in the rebuild.
Original Seat Types by Model Generation
Ural seating has varied across the platform’s production history, generally falling into a few recognizable types:
- Solo saddle-style rider seats: found across most generations, typically a single-piece foam pad over a metal or composite pan, upholstered in vinyl.
- Dual or extended seating: on models configured for a passenger on the motorcycle itself (distinct from the sidecar passenger), a longer seat pan with correspondingly more foam and cover material.
- Sidecar passenger bench: shaped to the tub’s interior, generally lower-profile and more exposed to weather than the rider’s saddle, with mounting points specific to the sidecar chassis rather than the motorcycle frame.
Across generations, the recurring comfort limitation is foam density and thickness — factory foam tends to be firmer and thinner than what most riders find comfortable on longer rides, which is the single most common reason owners pursue a rebuild rather than simple cover replacement. If longer rides are the goal, our sidecar riding technique guide is worth reading alongside seat comfort planning.
Materials Compared
| Material | Weather resistance | Feel/appearance | Maintenance needed |
|---|---|---|---|
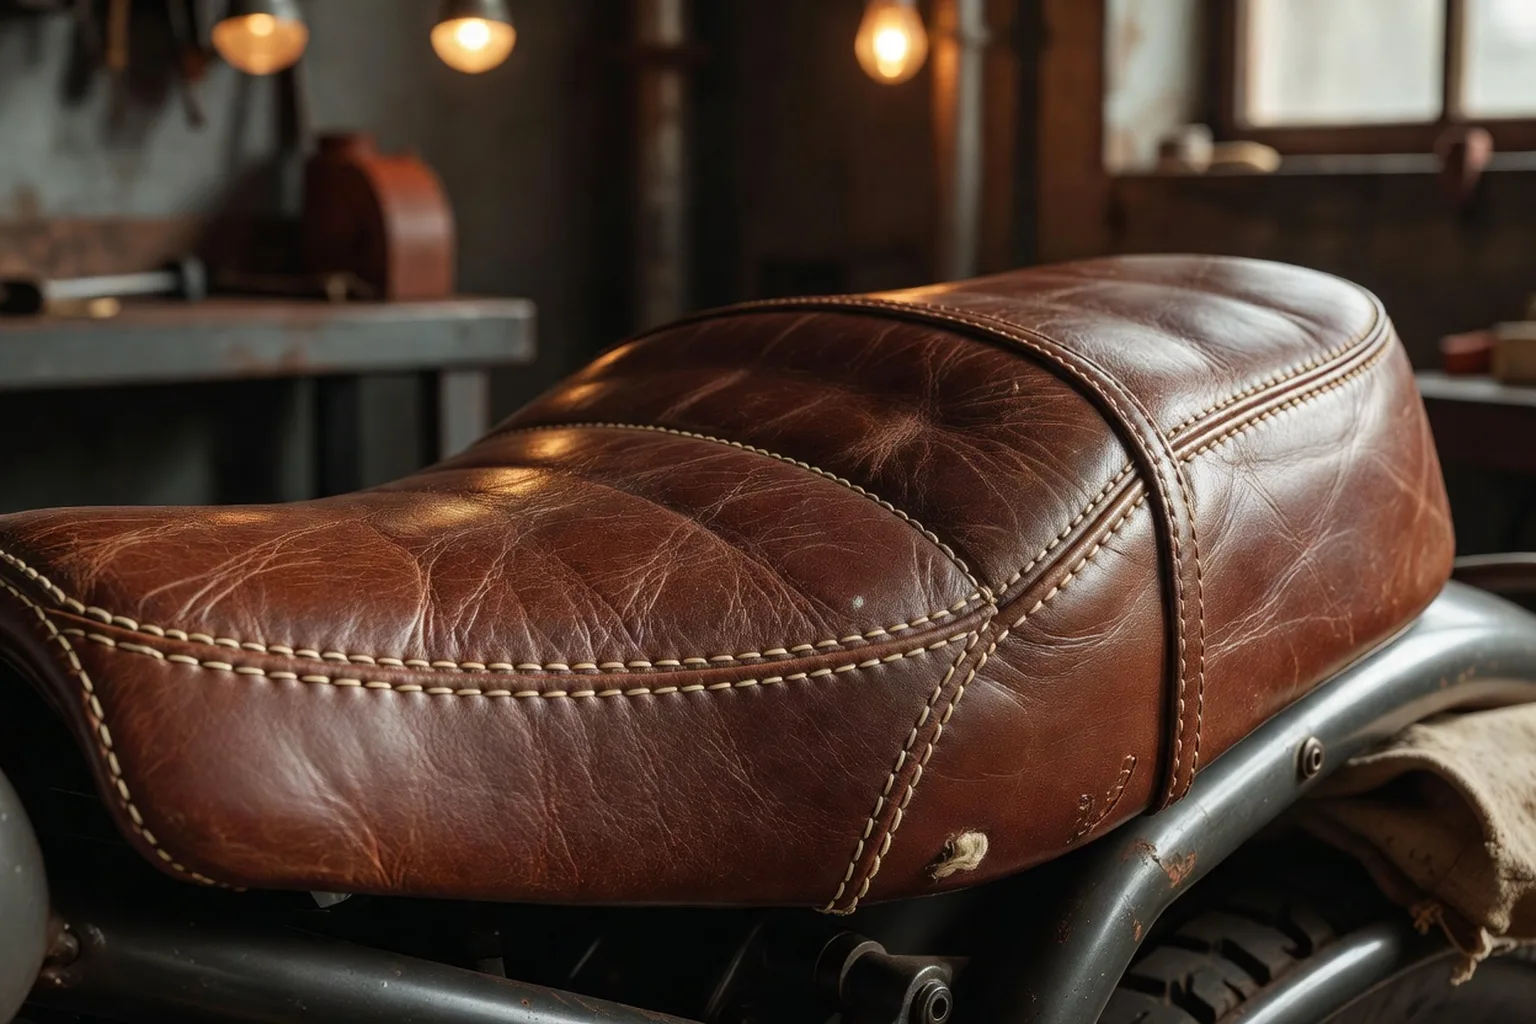
| Full-grain leather | Moderate (needs conditioning) | Best feel and appearance, ages with character | Conditioning every 2-3 months on an exposed vehicle |
| Technical/marine-grade vinyl | Best | Good, less premium feel than leather | Occasional cleaning, minimal conditioning |
| High-density foam (underneath either cover) | N/A — structural | Determines comfort more than the cover material | None once installed, but degrades over 8-10+ years |
For an open vehicle like a sidecar rig, the honest tradeoff is that vinyl is the lower-maintenance, more weather-tolerant choice, while leather is the higher-maintenance, better-feeling choice. Neither is objectively “correct” — it depends on how much conditioning routine you’re willing to commit to.
The Seat Rebuild Process, Step by Step
- Removal: unbolt the seat from its mounting points and fully strip the old cover and foam down to the bare pan, inspecting the pan itself for cracks or corrosion before proceeding.
- Pattern cutting: using either the old cover as a template (if it’s intact enough) or measuring the pan directly, cut new material with enough allowance for wrapping and stapling or stitching under the pan’s edge.
- Foam padding: shape new high-density foam to the pan’s profile, often building up thickness in specific zones (typically under the sit bones) for comfort rather than uniformly across the whole seat.
- Leather or vinyl tensioning: stretch the new cover over the foam and pan, working from the center outward to avoid wrinkles, and secure it — typically stapled underneath on a traditional build, sometimes bonded depending on the craftsman’s method.
- Finishing: trim excess material, address any piping or stitching details, and reinstall on the bike, checking that the finished seat still aligns correctly with its mounting points.
Key takeaway: Foam shaping in step 3 is where most of the comfort improvement actually comes from — a beautifully stitched cover over unchanged, compressed factory foam will look better but ride almost the same as before.
Sidecar Passenger Seat Specifics
The sidecar passenger position has ergonomic and weather considerations distinct from the rider’s saddle:
- Ergonomics: passengers sit lower and more enclosed within the tub, so seat shape needs to account for a different posture and typically less ability to shift position during a ride compared to the rider.
- Weather exposure: the sidecar tub offers some shelter but nowhere near full protection, and standing water after rain is a more common issue for passenger seating than for the rider’s saddle, which tends to dry faster with airflow.
- Recommended approach: many owners specify a more water-resistant material for the passenger seat specifically, or add a well-fitted tonneau cover for the tub when not in use, extending upholstery life regardless of material choice.
If children ride in the sidecar, seat comfort and fit interact directly with safety planning — see our sidecar family and children safety guide for the fuller picture.
Budgeting: Craftsman Rebuild vs Ready-Made Kit
- Ready-made kit (€150-350): fastest and least expensive option, typically a pre-shaped cover with or without new foam, designed to fit common Ural seat pans without customization. Good value if your seat pan is a standard shape and you don’t need a specific material or fit adjustment.
- Custom craftsman rebuild (€400-900 per seat): higher cost but allows material choice, custom foam profiling for comfort, and fit adjustments a ready-made kit can’t offer — particularly relevant if the factory seat shape has never suited your riding position.
- Sidecar passenger seat: often priced separately from the rider’s saddle given its different shape and mounting, and worth budgeting for independently rather than assuming a rider-seat quote covers both.
Leather Care for a Vehicle Exposed to Weather
If leather is chosen despite the added maintenance, a consistent care routine matters more on a sidecar than on almost any other vehicle type, since there’s no roof or enclosed cabin offering baseline protection:
- Condition leather every 2-3 months during regular use, more often in a wet climate or through a rainy season, using a product formulated for vehicle leather rather than furniture or footwear conditioners.
- Dry the seat thoroughly after riding in rain rather than leaving it to air-dry slowly, which is when water damage and mildew risk are highest.
- Avoid leaving a wet leather cover under a sealed, non-breathable cover — trapped moisture against leather causes more damage than open-air exposure to the same rain.
- Address small cracks or dry patches early with conditioner rather than waiting until the material has visibly hardened, at which point conditioning alone often can’t reverse the damage.
Choosing a Competent Upholsterer
Not every automotive or furniture upholsterer translates well to motorcycle seating, and a few questions help filter for genuine relevant experience:
- Have they worked on motorcycle or vintage vehicle seats specifically, not just cars or furniture? Ask to see prior examples.
- Can they source or shape foam to match your seat pan’s curvature, rather than offering only flat-cushion techniques?
- Will they work from your existing cover as a pattern, or do they need the seat pan itself to template from directly?
- Do they have experience with the specific material you want (marine vinyl vs full-grain leather requires different handling techniques)?
Repair vs Full Rebuild: When Patching Makes Sense
Not every worn seat needs a complete teardown. A single cracked seam or a small tear in otherwise sound vinyl can often be repaired — patched, re-stitched, or locally re-covered — for a fraction of a full rebuild’s cost, provided the foam underneath hasn’t collapsed and the damage hasn’t spread beyond a localized area.
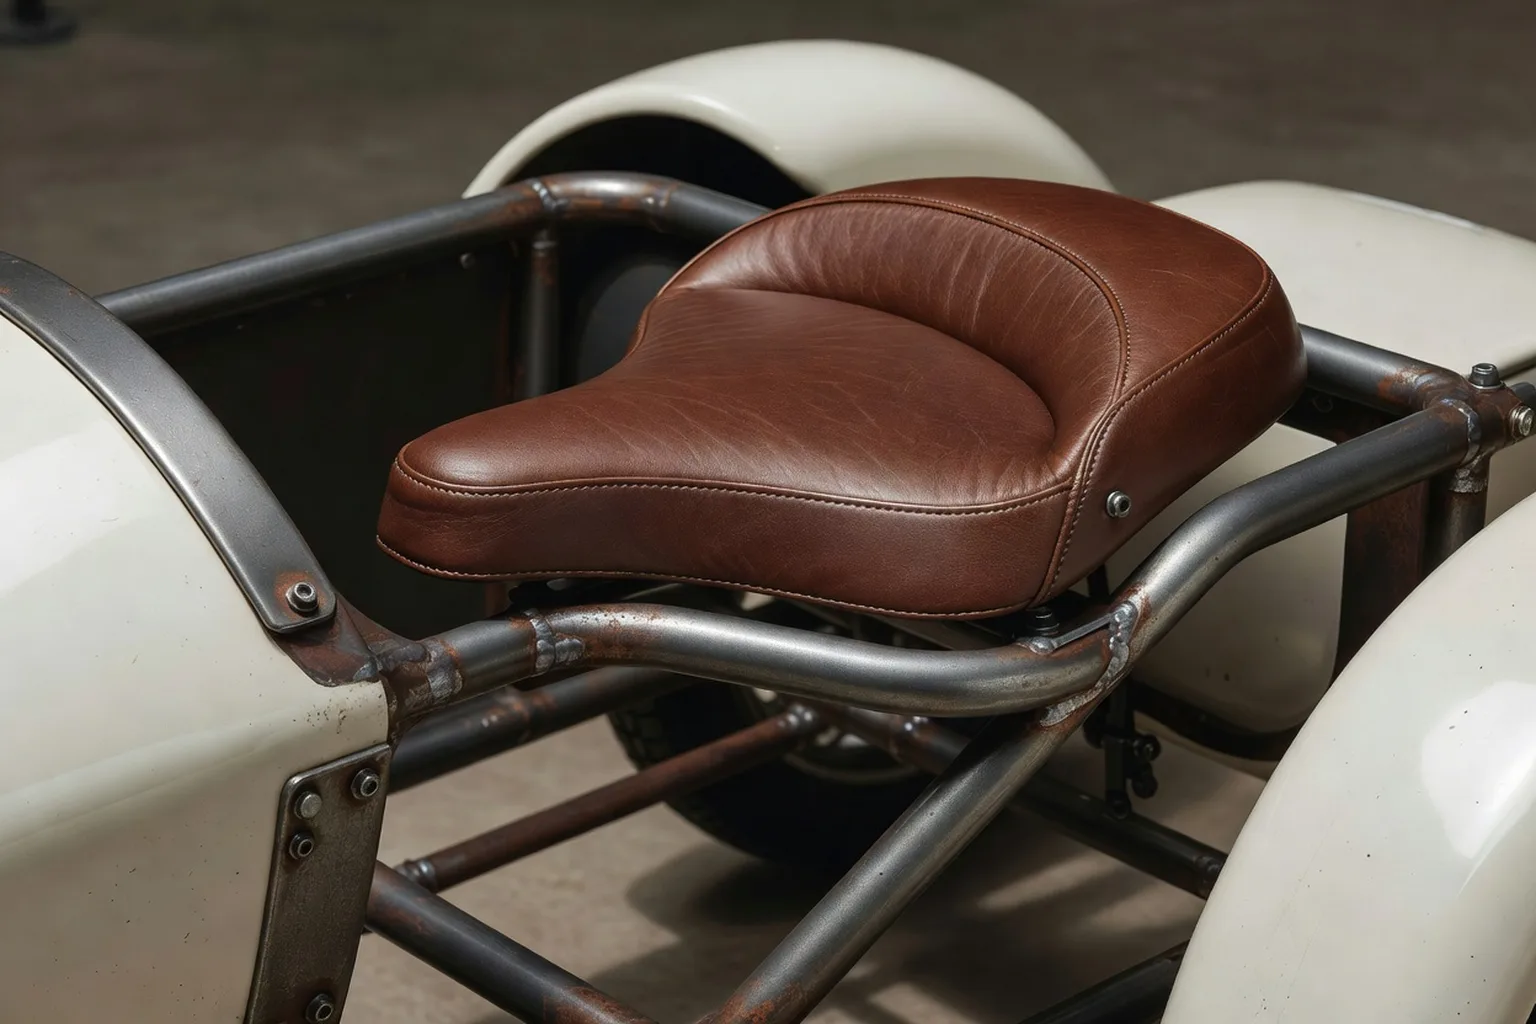
The practical test is foam condition: press down firmly on the seat and release. Foam that springs back within a second or two is generally still serviceable and worth preserving through a cover-only repair. Foam that stays compressed, or that visibly crumbles at the edges when the old cover is peeled back, has passed the point where a patch job makes sense — at that stage, a full rebuild with new foam is the more durable investment, since a fresh cover over degraded foam will look good briefly but won’t hold its shape or comfort for long.
For owners on a tighter budget, a targeted repair now with a full rebuild planned for later is a reasonable staged approach, particularly if the current damage is cosmetic rather than structural.
DIY or Craftsman: A Decision Grid
| Your situation | Recommended path |
|---|---|
| Comfortable with basic sewing/stapling, budget-conscious, standard seat shape | Ready-made kit, self-installed |
| Want custom material or improved comfort, but limited sewing skill | Craftsman rebuild, off-the-shelf foam profile |
| Want fully custom comfort profiling and premium material | Craftsman rebuild, full custom foam and pattern |
| Sidecar passenger seat specifically, heavy weather exposure | Craftsman rebuild in vinyl, prioritize weather resistance over feel |
The right answer depends less on budget alone than on how much you value a specific material feel versus low-maintenance durability — a decision worth making before contacting anyone, since it changes both the cost and the right craftsman to approach. For general upkeep once the new upholstery is installed, our maintenance guide covers the broader care routine, and family and children safety is worth reading if passenger seating comfort is part of what’s driving the rebuild.
Foam Density: A Detail Worth Getting Right
Foam choice deserves more attention than it typically gets, because it’s the layer that determines comfort on a ride long after the stitching and material choice have stopped mattering to how the seat actually feels.
| Foam type | Typical feel | Best suited for |
|---|---|---|
| Firmer, higher-density foam | Supportive, resists long-term compression | Rider saddle on longer touring distances |
| Softer, lower-density foam | Plush initially, compresses faster over years | Shorter commuting use, budget rebuilds |
| Multi-density (firmer base, softer top layer) | Balances support and initial comfort | Most craftsman rebuilds aiming for all-day comfort |
A craftsman experienced with motorcycle seating will generally default toward a multi-density approach for a rider saddle intended for genuine touring distances, since single-density foam either feels too firm initially or compresses too quickly to remain comfortable over years of use. This is also one of the clearest arguments for a custom rebuild over a ready-made kit: most off-the-shelf kits use a single foam density chosen for cost rather than for how the specific seat pan and riding style actually load the material.
Timeline for a Custom Rebuild
Setting expectations on turnaround avoids a common frustration: a proper custom rebuild is not a same-day service. A realistic timeline runs from initial consultation and material selection, through pattern-making and foam shaping, to final stitching and fitting — commonly two to four weeks depending on the craftsman’s workload and whether material needs to be specially ordered. Rushed turnaround is itself a signal worth noticing; a seat built quickly around a standard pattern rather than your specific pan and preferences is closer to a ready-made kit than a genuine custom rebuild, regardless of what it’s called or priced as.
Key takeaway: If a quoted turnaround for a fully custom rebuild sounds too fast to include pattern-making and proper foam shaping, ask specifically what’s being customized — sometimes what’s marketed as custom work is closer to a ready-made cover fitted to a standard pattern.
Frequently Asked Questions
Technical marine-grade vinyl generally outperforms full-grain leather for pure weather resistance on an open vehicle like a sidecar, because it doesn't absorb water the way leather does and tolerates UV exposure with less maintenance. Full-grain leather looks and feels better and can be treated to handle weather well, but it demands more consistent care — conditioning every few months rather than once a season — to avoid drying and cracking under sustained sun and rain exposure.
A ready-made replacement seat cover or foam kit for a common Ural model generally runs in the range of €150-350 depending on material and whether it includes new foam. A full custom rebuild by a craftsman — new foam shaped to the pan, hand-cut and stitched cover in your choice of material — typically runs €400-900 per seat depending on material choice and complexity, with sidecar passenger seating sometimes priced separately given its different shape and mounting.
Basic foam replacement and a pre-made cover installation are realistic first upholstery projects, since the seat pan geometry is relatively simple compared to a full custom design. A hand-cut-and-stitched cover from raw material, particularly one requiring pattern-making for correct tensioning around the pan's curves, is considerably harder to get right on a first attempt — uneven tension or poor seam placement is the most common beginner mistake and is difficult to fix after the fact.
Prior experience with motorcycle or vintage vehicle seating specifically, not just general automotive or furniture upholstery, is the most important criterion — motorcycle seat pans have curvature and stress points that behave differently from a flat furniture cushion or a car seat. Ask to see previous motorcycle work, confirm they can source or shape foam to match your seat pan's original profile, and clarify upfront whether they'll work from your existing cover as a pattern or need the original seat's dimensions documented some other way.
Yes. The sidecar passenger seat sits in a more exposed, harder-to-shelter position within the tub, often with less airflow to dry out after rain, and its shape and mounting differ from a saddle-style rider seat. Weather protection matters more here — some owners specify a slightly more water-resistant material for the sidecar seat than the rider's saddle for this reason, and a well-fitted tonneau cover for the tub extends the passenger upholstery's life considerably.